
|
|
|
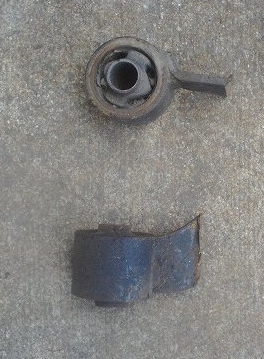
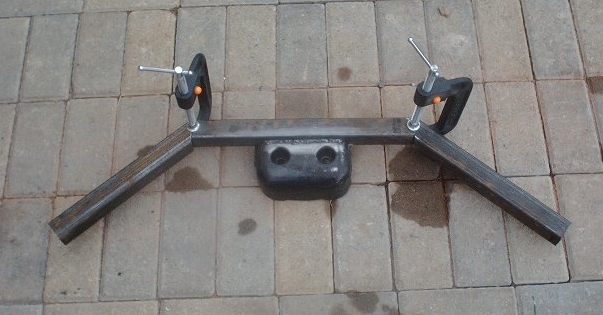
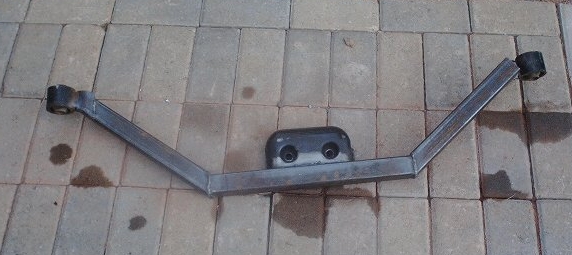
Rear Differential Mount This week's progress consisted of getting the rear diff mount finished. The need for this is lift related. When you lift the truck you are lifting the body off the cross members. So of course the rear diff mount needs to by dropped by an equal amount so that the diff stays level and is secure. Most lift kits approach this by using the stock assembly and a set of spacers to extend the mounting point of the diff mount so that everything stays in it's proper relationship. At 6 inches of body lift this is still workable but not as strong and honestly, that big wavy business isn't very aesthetically pleasing. The mount I constructed uses the stock center piece with the bolt holes already in perfect alignment and it is rather beefy. It also uses the stock end pieces that still attach to the original mounting locations that remain unchanged. This mod could be done as part of any height lift, the result is a far superior piece that also provides a mounting point for diff skid plates and it just looks better.
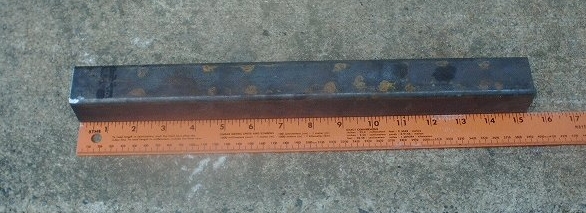
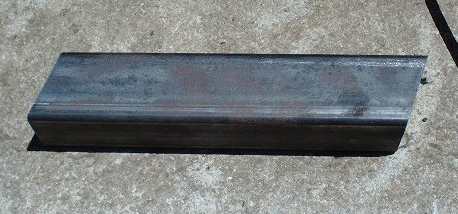
Step one, cut the stock rear diff mount into pieces, some kept, some discarded. Stock piece next to cut piece (note that right hand end piece was cut off) Step two, cut a center piece about 15 inches long. Then weld it to the center section of the stock diff mount. And bolt it to the diff. Step three, Take the end pieces that you cut off leaving about 1.5 inches of tab and bolt them in place. Step four, cut a piece for each end that angles up from the center bar and rests against the tab on the end piece. Clamp all this together and then remove it for welding. Step five, your finished product ready for painting.
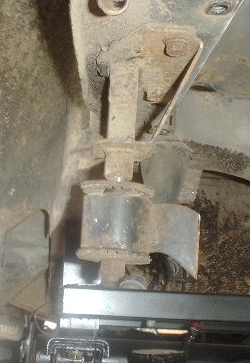
A few things to note, there will be an offset of the ends, and the diff is much easier to position it you install the forward bolt and support it with a bottle jack.
|
 |
 |
 |
 |